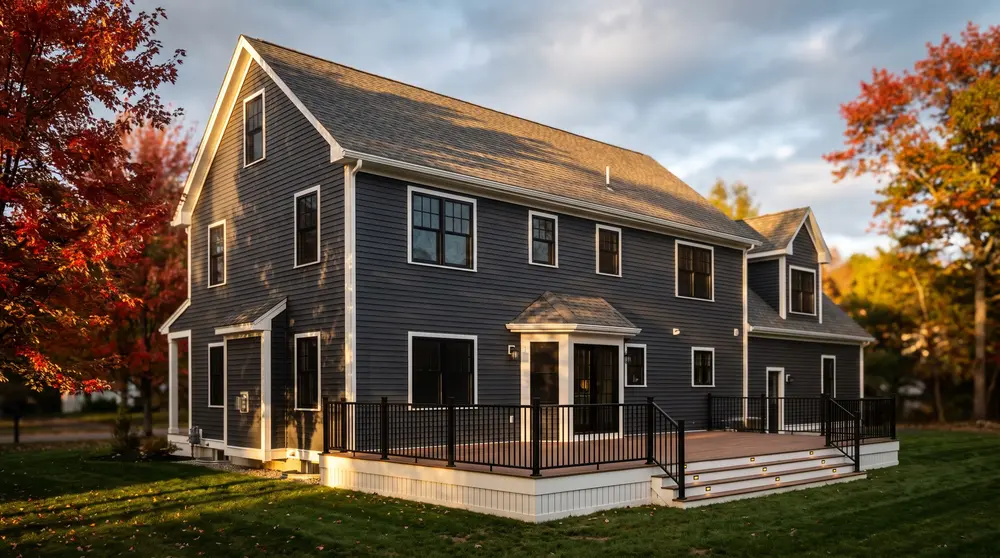

Most Massachusetts homes have insulation between the studs, if they have any at all. The studs themselves are wood, and wood carries heat out of your house faster than the insulation next to it. Every stud, header and plate is a path for heat to leak through. A continuous layer of rigid foam on the outside of the sheathing covers all of those paths at once, because it runs unbroken across the whole wall. On an older house with little cavity insulation, the difference in comfort is easy to feel near the exterior walls.
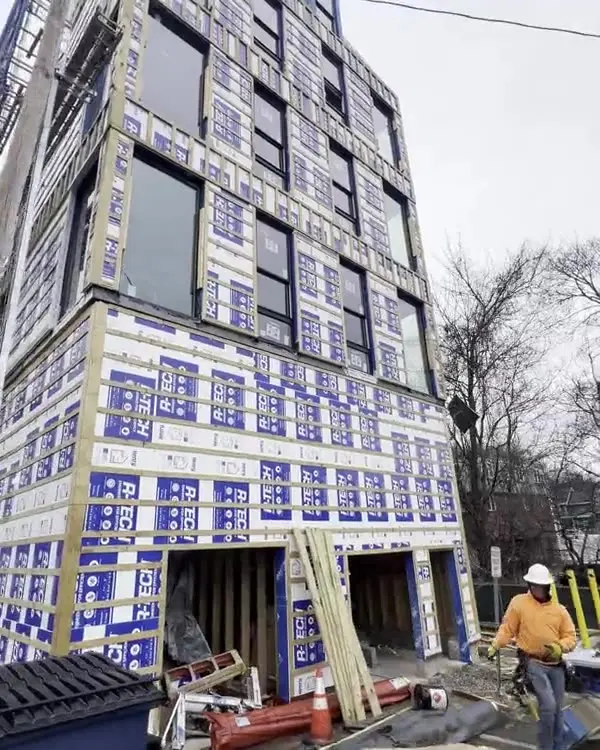
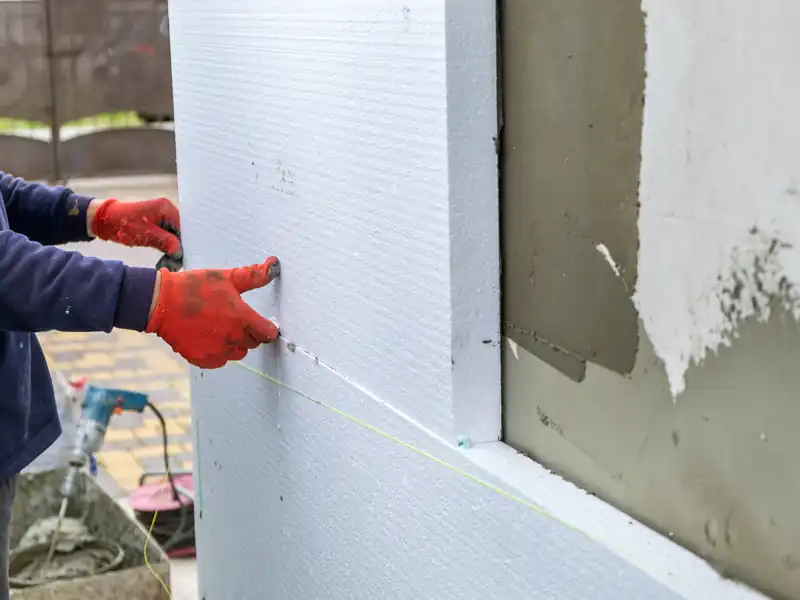
The best time to add it is when your siding is coming off anyway. With the wall open, we inspect the sheathing, replace what's rotten and fasten foam board over it. The joints get taped. Then we install furring strips over the foam to hold the siding and leave a small gap behind it for drainage. You get a warmer wall without opening a single interior room or moving your furniture. The work stays outside, and the crew stays outside with it, from tear-off to the last piece of trim.
Foam board comes in a few types. Foil-faced polyiso gives the most R-value per inch. Extruded polystyrene, called XPS, and expanded polystyrene, called EPS, are other common choices with different moisture and cost tradeoffs. Common systems include Owens Corning Foamular, DuPont Styrofoam and Rmax. Tell us which one you want and we price that exact product. Each one changes how the wall dries, so the choice affects more than the R-value. We look at your wall, your windows and your siding before we recommend a type and thickness, and we explain why.
What's included
- Old siding removed down to sheathing
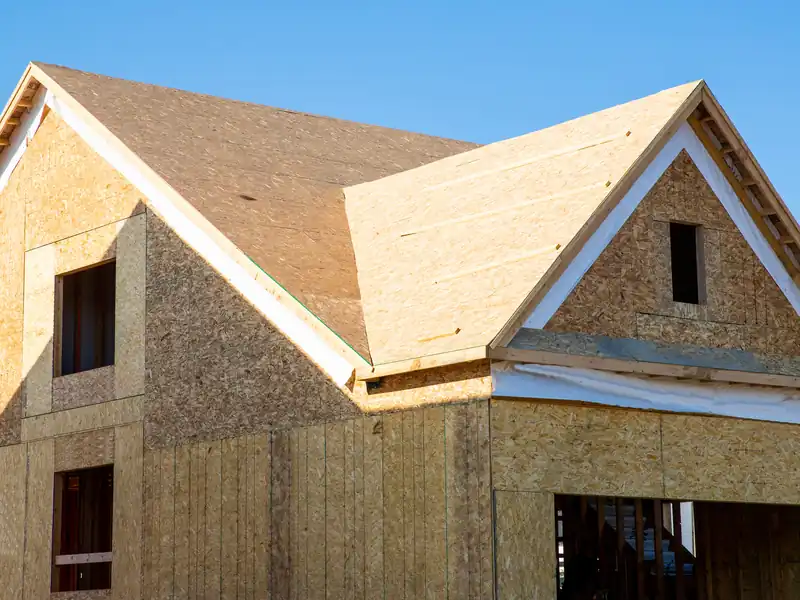
- Sheathing inspected and repaired
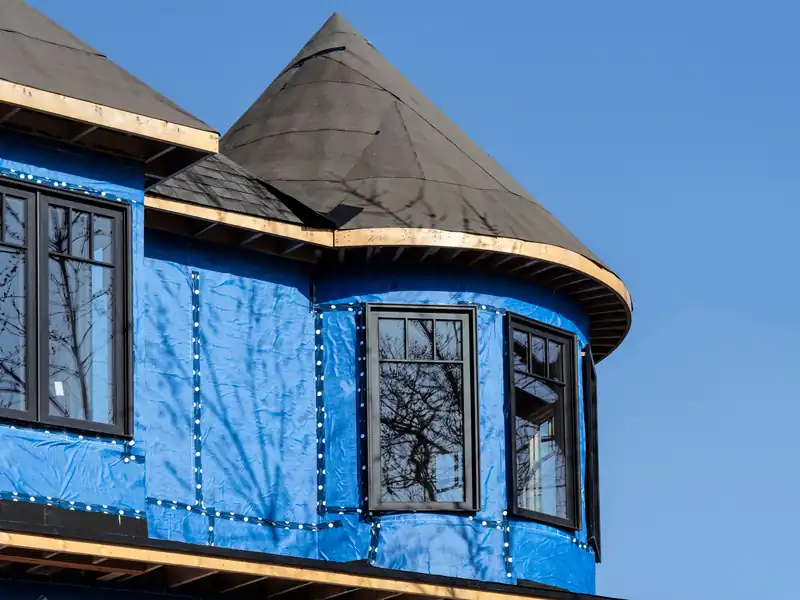
- Weather barrier installed and lapped
- Rigid foam board, joints tight
- Foam seams taped
- Furring strips fastened through to framing
- Windows and doors extended and flashed
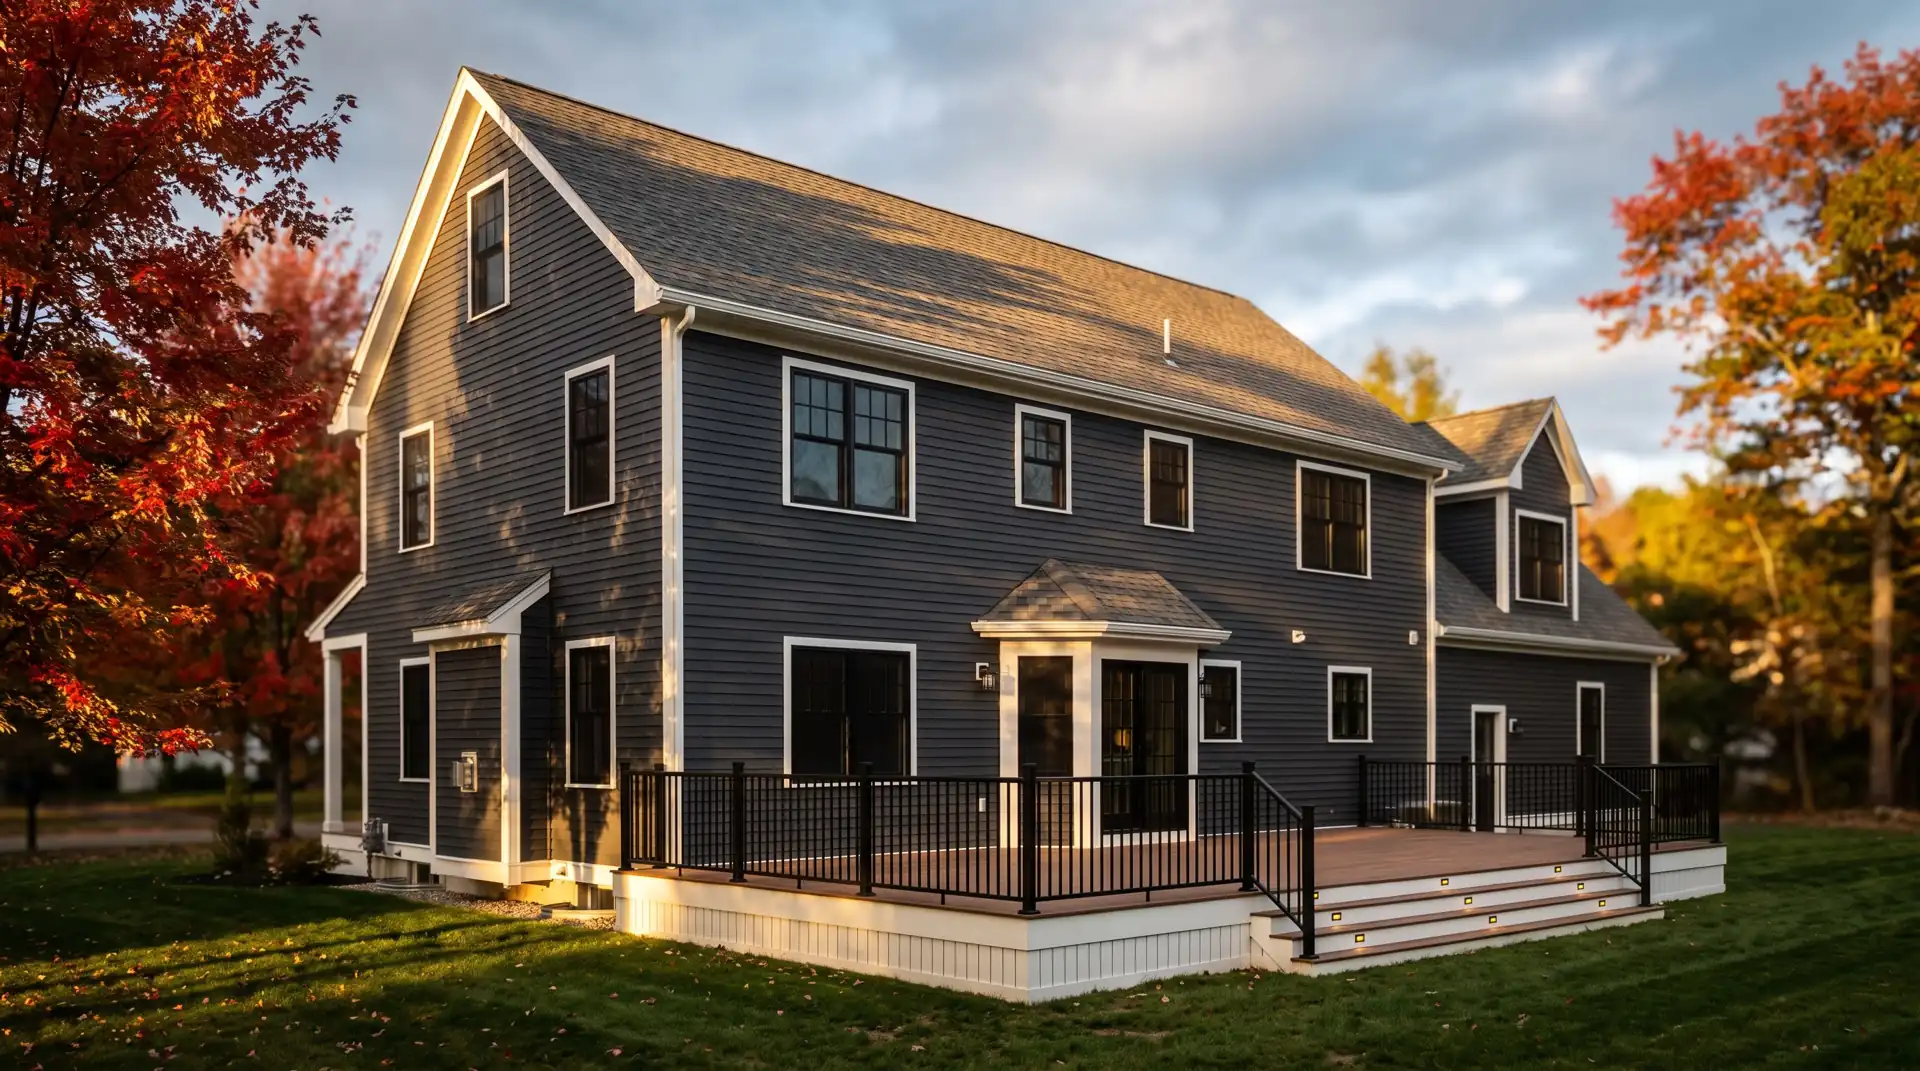
- New siding installed over the furring
Signs it's time
- Cold exterior walls you can feel in winter
- Frost or condensation on interior wall corners
- Thin or settled insulation in the wall cavities
- High heating bills in a drafty older house
- Siding that's due for replacement anyway
Thermal bridging, in plain terms
A thermal bridge is any part of a wall that carries heat faster than the area around it. In a wood-framed house, the framing can add up to a large share of the wall surface once you count studs, plates, headers and corners. Cavity insulation does nothing for those spots. On a cold night, heat takes the easy route out through the wood. That's why a house can have full cavities and still feel cold along the outside walls.
Exterior foam fixes this by covering the framing from the outside. Because it's continuous, it slows heat loss through the studs and the cavities alike. It also keeps the sheathing warmer in winter. That matters, because warm sheathing is less likely to collect condensation when indoor air finds its way into the wall. Cold sheathing in winter is one of the main ways older walls get wet from the inside. Foam lowers that risk and adds R-value across the whole wall, framing and bays alike.
Adding foam does change the details. Your wall gets thicker, so windows and doors need extension jambs and new flashing, and siding needs longer fasteners driven into the framing through furring strips. Foil-faced foam also blocks vapor, so the wall has to be planned to dry toward the inside. We work through those details on paper with you before the first board goes up. You'll see the plan for every window and every trim detail before work starts.
What happens behind your rigid foam insulation
You won't see most of this once the job is done. That's why we photograph it before we cover it.
- Substrate inspected and photographed before it's covered
- Every opening flashed so water gets directed back out
- Seams and laps of the weather barrier taped and sealed
- Fastening and clearances per the manufacturer's manual
- Soffit ventilation kept open, corners and returns sealed
- Site cleared and magnet swept at the end of every day